






This guide covers the steps after your Cloud VPS is paid, up to your first sign-in to the server.
What you need
- A Cloud VPS service with the status Active.
- A computer with a terminal. Windows 10 and 11 already include the
sshcommand in PowerShell and Windows Terminal. macOS and Linux use the Terminal app.
Step 1: wait for the server to be created
Once the invoice is paid, the server is created automatically. While this runs, the service page says the payment was received and the service is being set up. It usually takes only a few minutes.
As soon as the server is running, we send a Your service is active email to your account email. It contains the server's IP address, username and password. Keep that email private.
Step 2: open the access details in the client area
- Sign in to the client area.
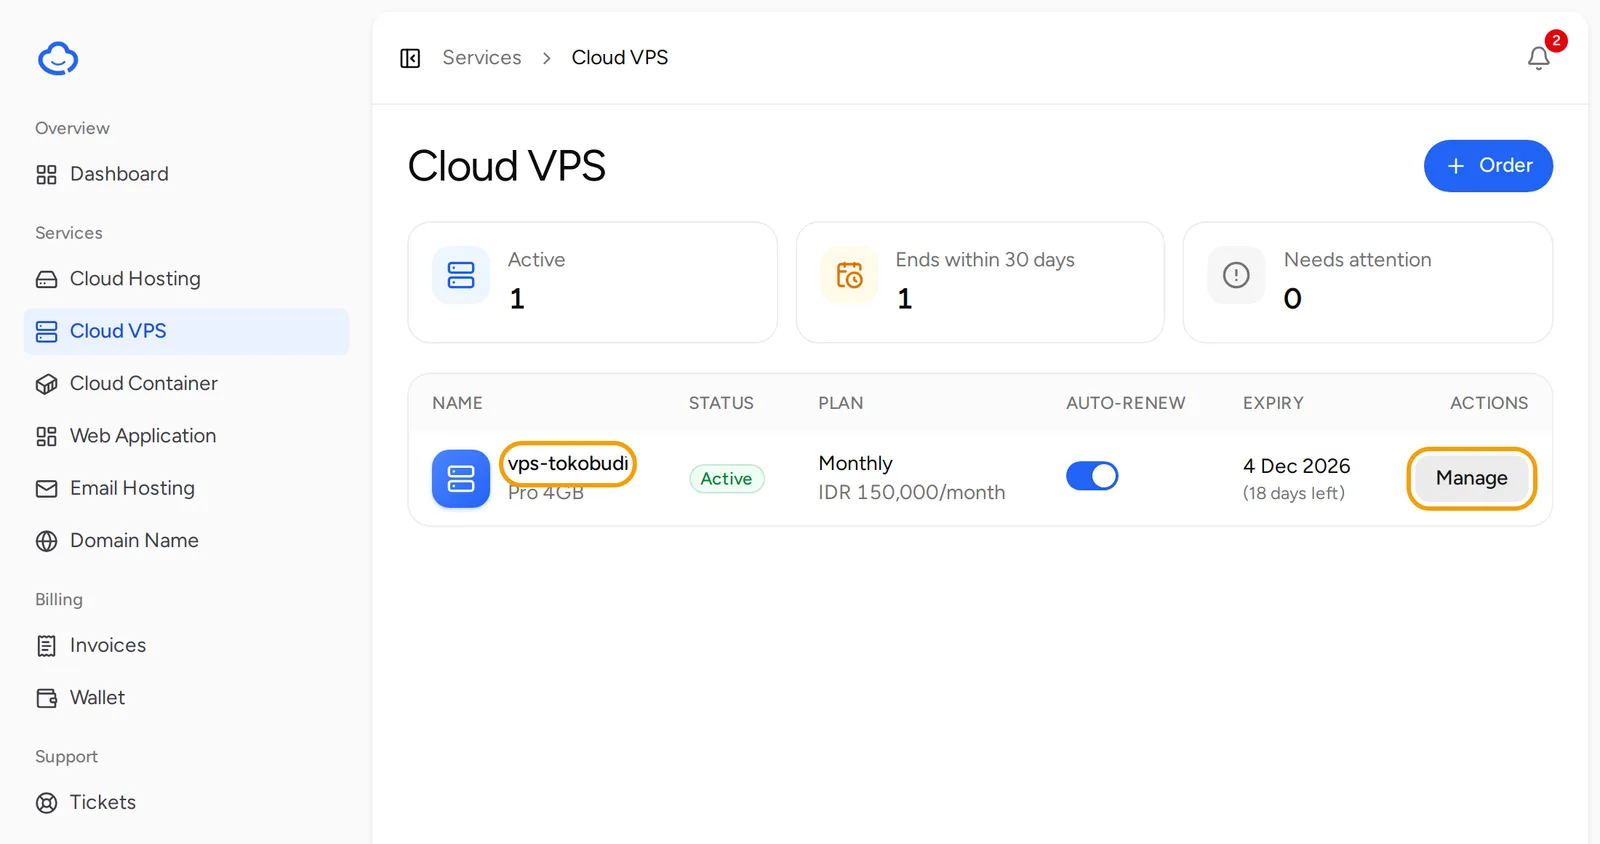
- In the sidebar, open Cloud VPS.
- Click Manage on your VPS.
- Open the Access tab. The Access details section shows the IP address, Username and Password.
- Click the eye icon to show the password, or the copy icon to copy it.
- The Connect with SSH field holds a ready-made sign-in command, for example
ssh root@203.0.113.10.
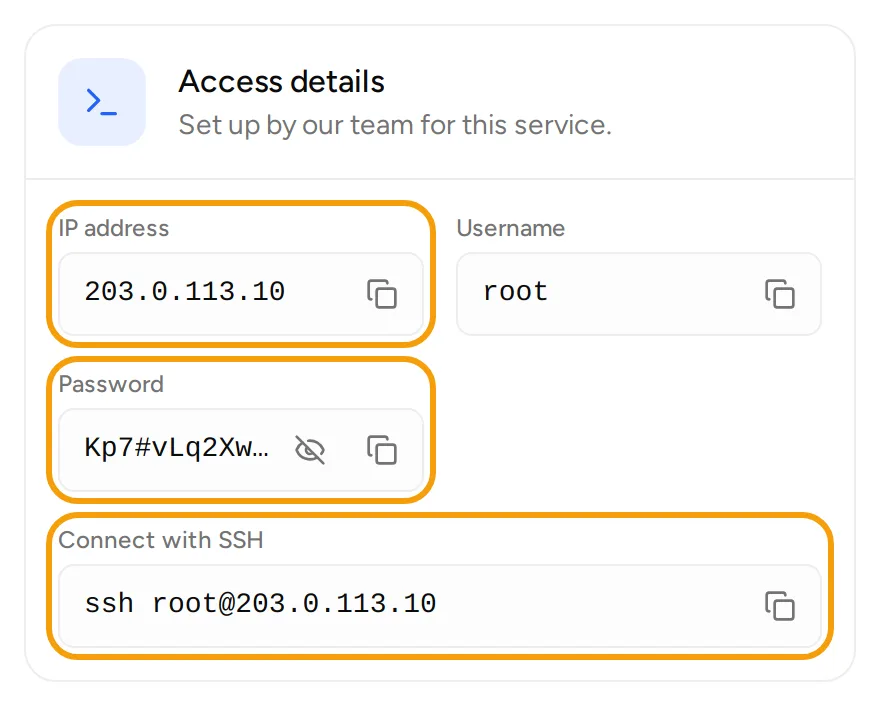
Use the username shown on this page. On most servers it is root, but some images use another name, such as ubuntu. If the server uses an SSH port other than 22, the command already includes -p and the port number.
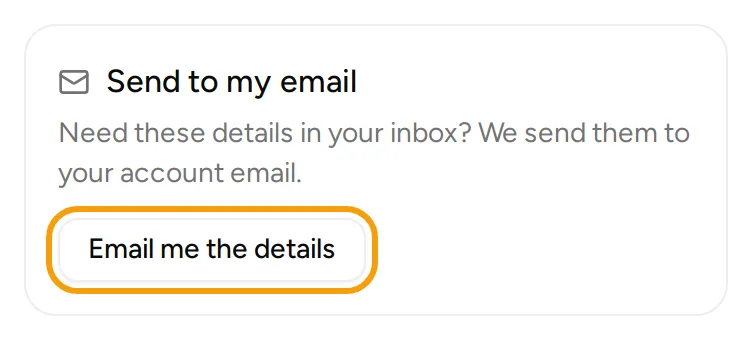
Need the details in your inbox again? On the right, click Email me the details. They are sent to your account email.
Step 3: sign in over SSH
From Windows
- Open PowerShell or Windows Terminal.
- Paste the command from Connect with SSH, for example
ssh root@203.0.113.10, and press Enter. - Paste the password when asked. The characters do not show while you type. Press Enter.
If you prefer a graphical app, you can use PuTTY. Enter the IP address as the Host Name, port 22 (or the port shown), choose SSH and click Open. Sign in with the username and password from the client area.
From macOS or Linux
- Open the Terminal app.
- Paste the same command and press Enter.
- Enter the password when asked.
The first time you connect, the terminal shows the server's fingerprint and asks whether you want to continue. Type yes and press Enter. Your computer remembers this fingerprint and will not ask again for the same server.
Step 4: first steps on the server
Once you are in:
- Update the system packages. On Ubuntu or Debian, run
apt update && apt upgrade -y. On AlmaLinux or Rocky Linux, rundnf upgrade -y. - To change the password, run
passwd. After that the password shown in the client area no longer works, so keep your new password somewhere safe. - Forgot the password? Make a new root password from the client area. See Manage your Cloud VPS.
For basic security, consider:
- Signing in with an SSH key, then turning off password sign-in once the key works.
- Turning on a firewall and opening only the ports you need, such as 22, 80 and 443. Allow the SSH port before you turn the firewall on, so you do not lock yourself out.
Everything inside the server is yours to manage.
Windows VPS
Windows VPS packages use the username Administrator and are reached with Remote Desktop, not SSH. On the Access tab, the Connect with Remote Desktop field shows an address such as 203.0.113.10:3389.
- On Windows, open Remote Desktop Connection (
mstsc), enter that address, and sign in asAdministratorwith the password from the client area. - On macOS, use Microsoft's Remote Desktop app from the App Store.
Troubleshooting
Connection timed outorConnection refused: check that the server shows Running on the Access tab. Check the IP address and port too.Permission denied: the username or password is wrong. Copy them again from the client area. If you changed the password and forgot it, make a new root password.- A
REMOTE HOST IDENTIFICATION HAS CHANGEDwarning: this usually shows after the OS was reinstalled. Remove the old fingerprint withssh-keygen -R 203.0.113.10(use your IP), then connect again. - You cannot sign in at all: open the Console on the Access tab to reach the server's screen directly.
For anything else, open Support and then Tickets, click New ticket, choose Technical support, and pick your VPS.