






Every Cloud Hosting package comes with JetBackup backups. You can restore files, databases or the whole account yourself from the panel, without waiting for our team.
What is backed up
- Backups are made weekly and kept for 30 days, so you can choose from several restore points over the last month.
- Backups are made with JetBackup and kept off the hosting server.
- A backup covers the whole account: files in the home folder (including
public_html), databases and database users, email accounts, domains, SSL certificates, cron jobs and FTP accounts.
Because backups are weekly, changes from the last few days may not be in a backup yet. Before a big change, such as updating plugins or a theme, keep a copy of your own as well.
What you need
- A Cloud Hosting service that is active.
- A rough date when the site last worked normally.
Step 1: sign in to the control panel
- Sign in to the client area.
- In the sidebar, open Services and then Cloud Hosting, then click Manage on your service.
- Click Open cPanel or Open DirectAdmin at the top of the page. For DirectAdmin, sign in with the username and password from the Access tab.

Step 2: open JetBackup
In the panel, find JetBackup 5 (or type "JetBackup" in the search box). Its home page shows how many backups are available and a Restore & Download section.
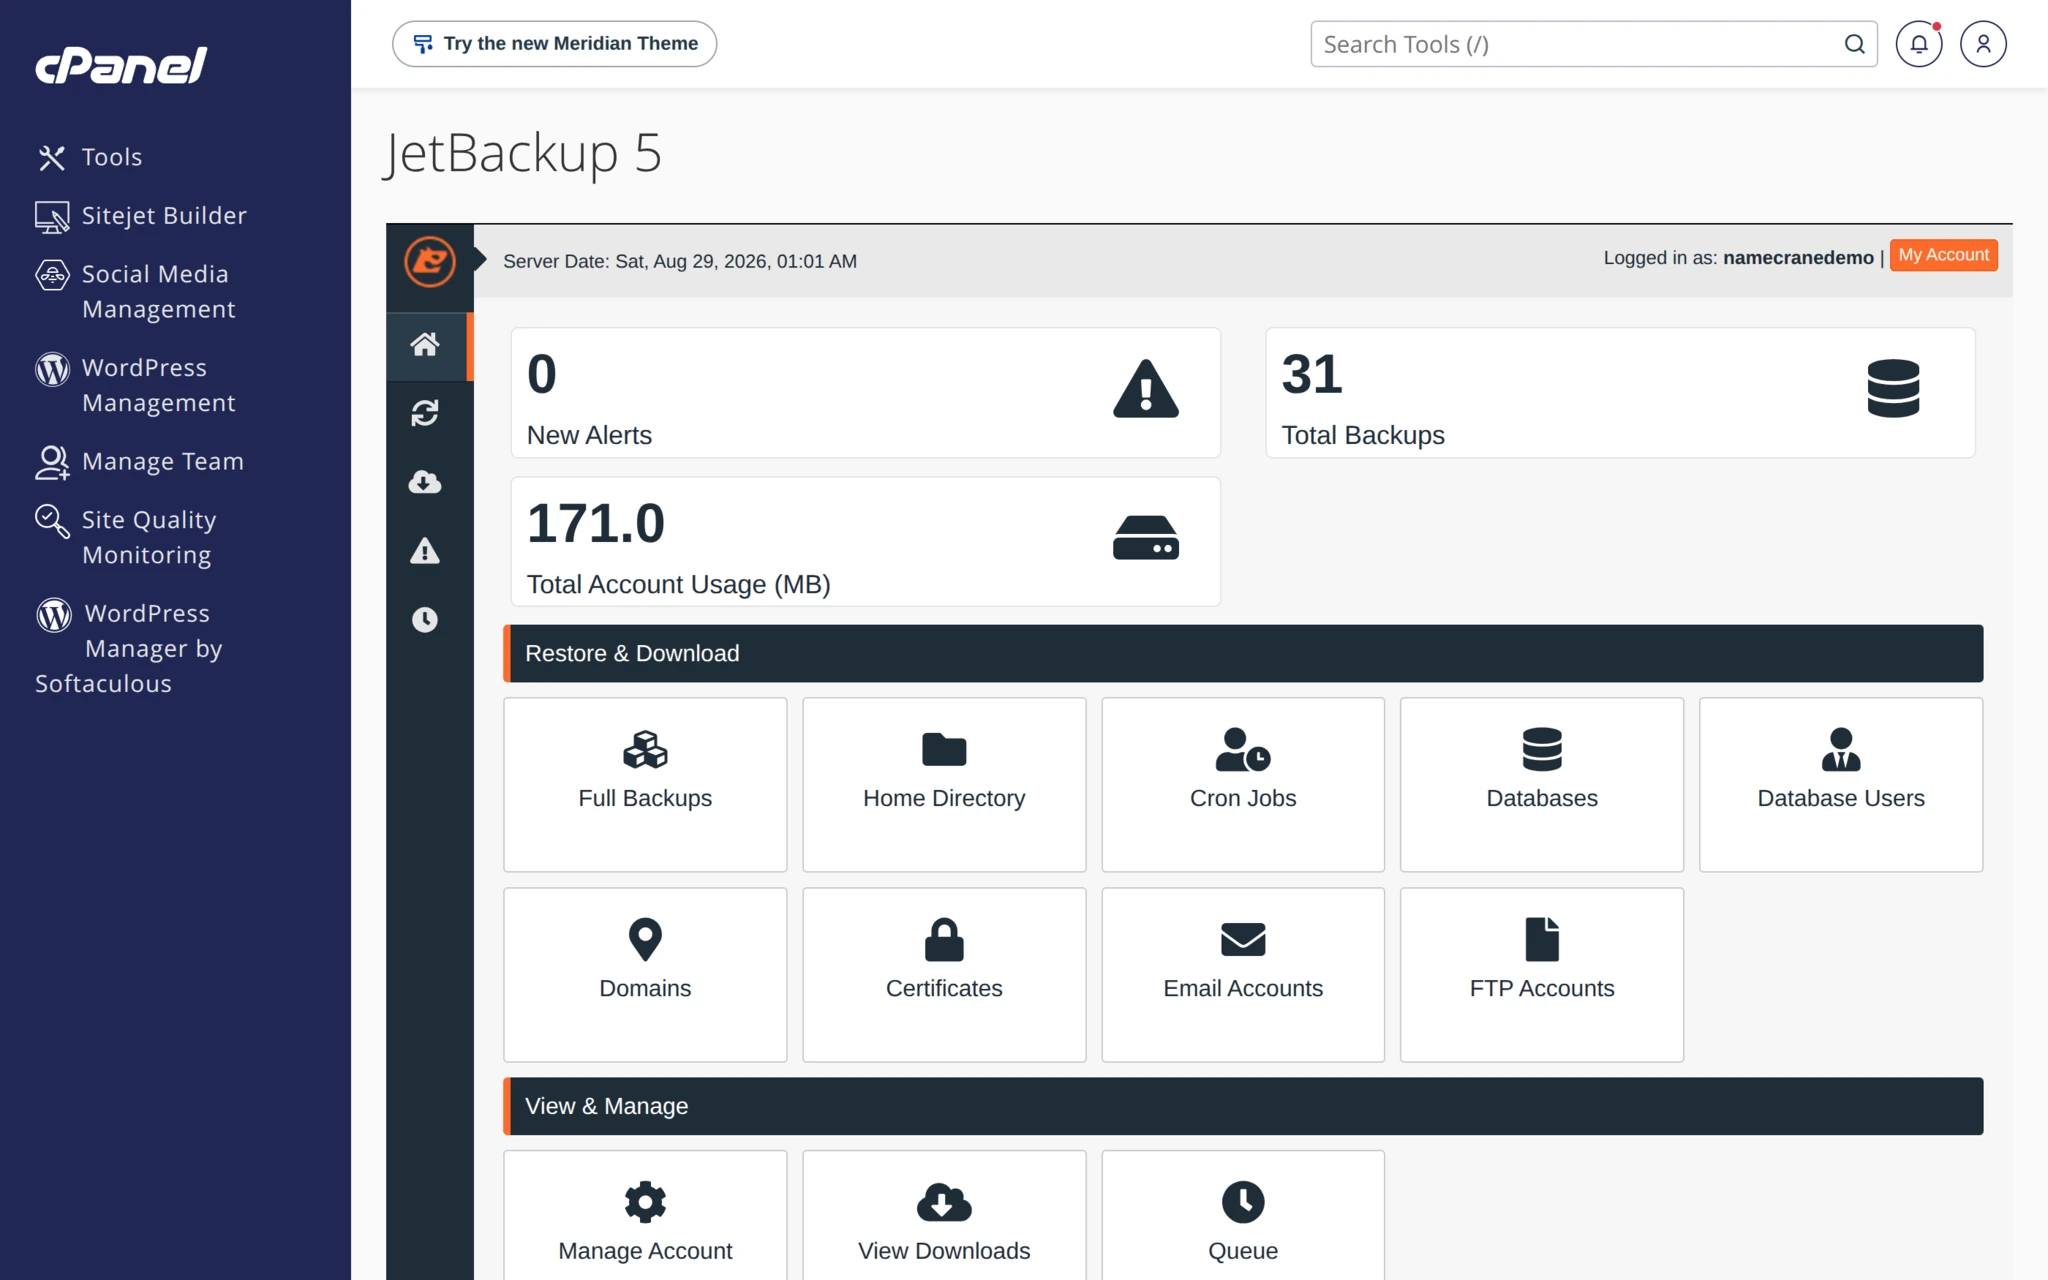
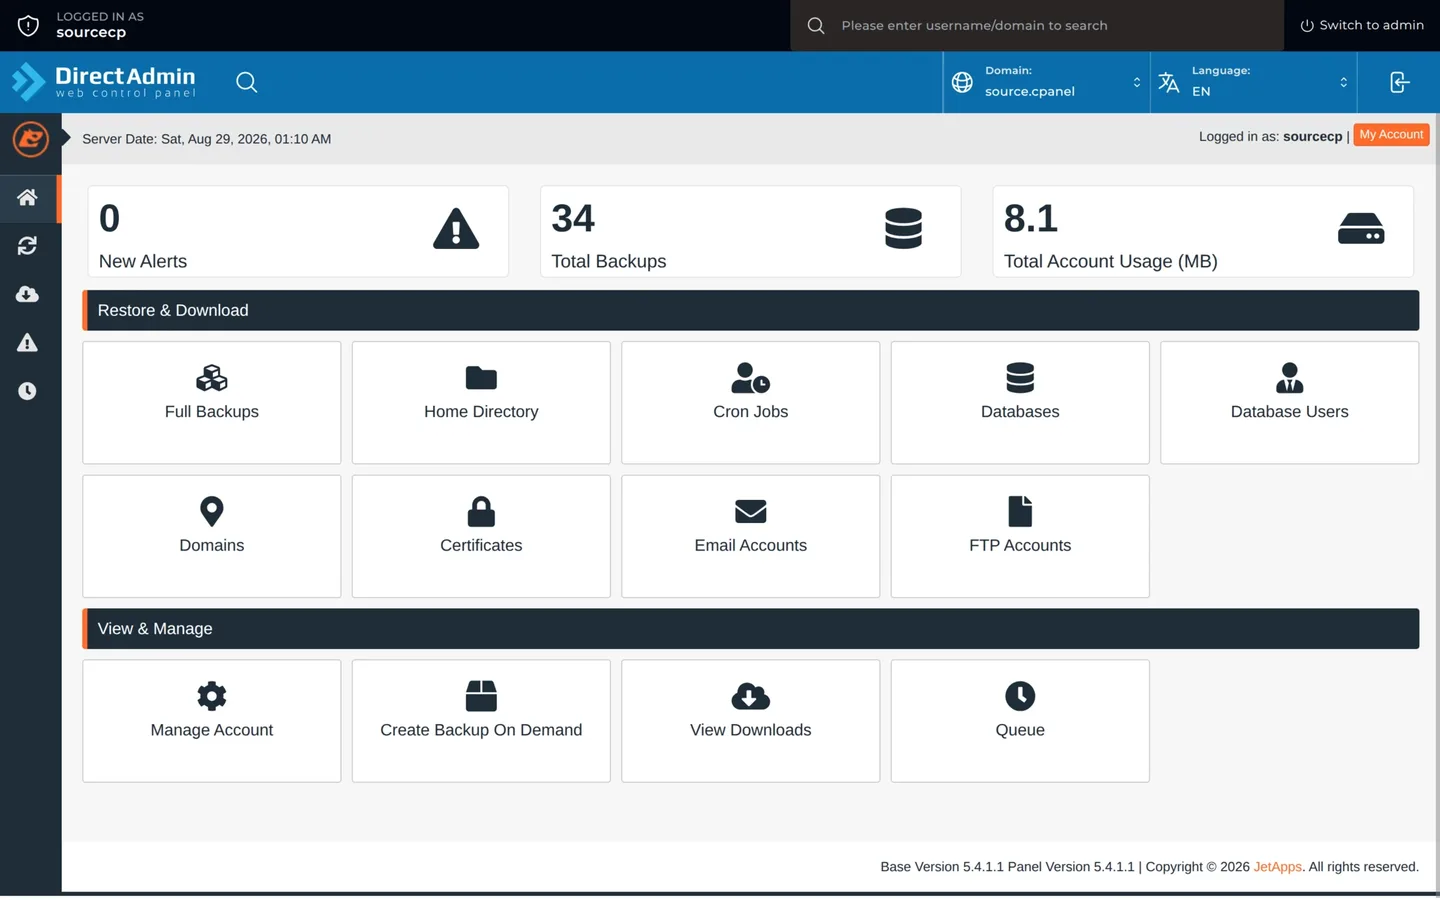
In Restore & Download, pick the kind of data to bring back:
- Full Backups: the whole account at once.
- Home Directory: files and folders, including the website files.
- Databases and Database Users: MySQL databases and their users.
- Email Accounts: mailboxes and their contents.
- Domains, Certificates, Cron Jobs, FTP Accounts: other account settings.
Step 3: restore files or folders
- Click Home Directory.
- Pick a restore point by date.
- Choose the files or folders to restore, for example
public_html/wp-content. - Click Restore and confirm.
Restored files overwrite files with the same name in your account. If in doubt, download the file first (see step 6) and compare.
Step 4: restore a database
- Click Databases.
- Pick the database, then a restore point by date.
- Click Restore and confirm.
The current database contents are replaced with the backup. Anything added after the backup date, such as new orders or comments, is lost. If the site uses a database user that is gone, restore it from Database Users too.
Step 5: restore the whole account
Only use this when many things are broken at once, for example after the site was hacked.
- Click Full Backups.
- Pick a restore point by date.
- Click Restore and confirm.
A full restore puts files, databases and email back to how they were on the backup date. Email received after that date can be lost. It takes a while, depending on the size of the account. You can follow it in Queue.
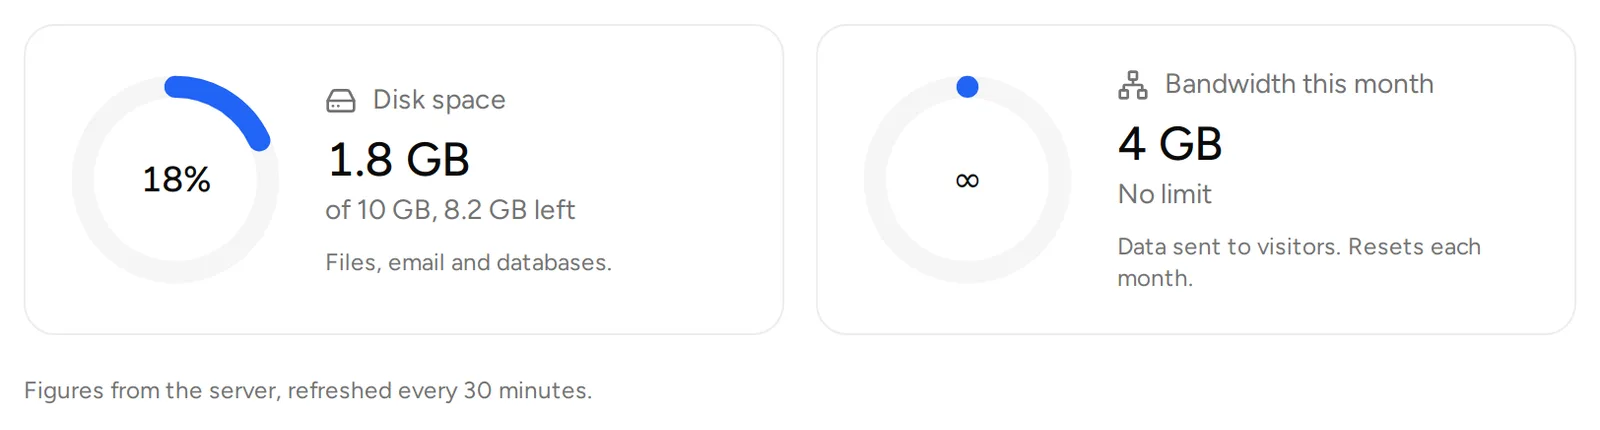
Before a full restore, check the Usage tab in the client area. Make sure there is enough Disk space left, because restored files count toward your account's disk space.
Step 6: download a backup to your computer
- In Restore & Download, pick the kind of data, for example Full Backups or Databases.
- Pick a restore point and click Download.
- JetBackup prepares the download in the background. When it is ready, open View Downloads and click the file to download it.
Keep this copy on your computer or your own cloud storage as an extra backup.
Troubleshooting
- The date you want is not listed: backups are kept for 30 days. Older ones have been removed automatically.
- A restore takes long or does not finish: open Queue to see its status. Do not start the same restore again and again.
- The site still shows errors after restoring a database: clear the cache in your WordPress cache plugin or browser, then try again.
- You cannot find JetBackup in the panel: type "JetBackup" in the panel's search box. If it is still missing, open a ticket.
For other help, open Support and then Tickets, click New ticket, choose Technical support and pick your hosting service.